Bodywork - The importance of paint prep
If you talk to anyone who paints cars for a living (or paints anything for that matter) they will tell you that the single most important thing to get right when painting a car is prep.
Proper preparation is crucial for a good result, whether you are painting a touch-up in a small spot or respraying an entire car, and in order to carry out proper prep you’ll need to understand the steps involved and why they’re important.
In this article, we’ll outline what’s involved in prepping a car for paint, and why each stage shouldn’t be skimped on. Some of the steps, such as welding in rust-repair patches or shaping metal with dollies are complex enough that they’ll be covered in more depth in their own articles.
Assessing the situation.
Before you go grinding off paint or smacking panels with a body hammer, it’s a good idea to figure out exactly what type of repair you should be carrying out (or even if you’re perhaps better off leaving it to an expert.)
In some situations, a DIY repair might be infeasible or nigh impossible as certain types of damage can require the use of expensive specialist equipment or just outright replacement of damaged parts.
If the repair is somewhat minor, or manageable with a little know-how, then you’ll want to disassemble the relevant parts in order to get access. It’s worth investing in some trim removal tools, should you need to remove fragile trim pieces that could get damaged in the process.
Pulling dents
It’s a good idea to remove as many dents as you can without the use of filler, as this reduces the amount of sanding and shaping that you’ll need to do before paint. Less filler also means less chance for moisture to be trapped beneath your future paint.
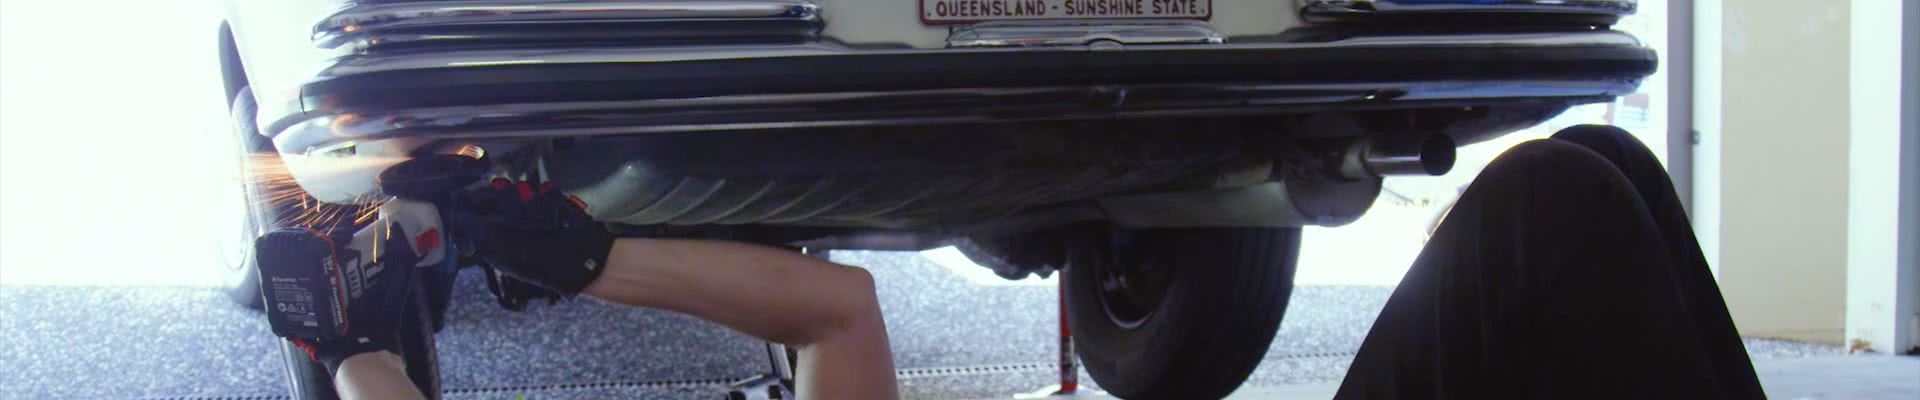
Cutting rust
It is absolutely imperative that you cut out any areas where rust has caused holes right through the metal. This is to stop the rust from continuing to spread throughout your car once you’ve painted it.
Be sure to grind away any surface rust and to treat any minor corrosion that is impossible to cut out or grind, with rust converter.
Welding patches
Welding in patches of new steel is always a better option than using filler because it reduces the likelihood of rust developing in the future. The downside is that it generally takes more skill, time and money to do.
When welding, be careful to use as little heat as is viable to still get adequate penetration - so as not to warp the metal around the area that you weld.
Make sure that you also apply a coat of rust-proofing on the back-sides of your welds if possible, or if not then apply a weld through primer beforehand.
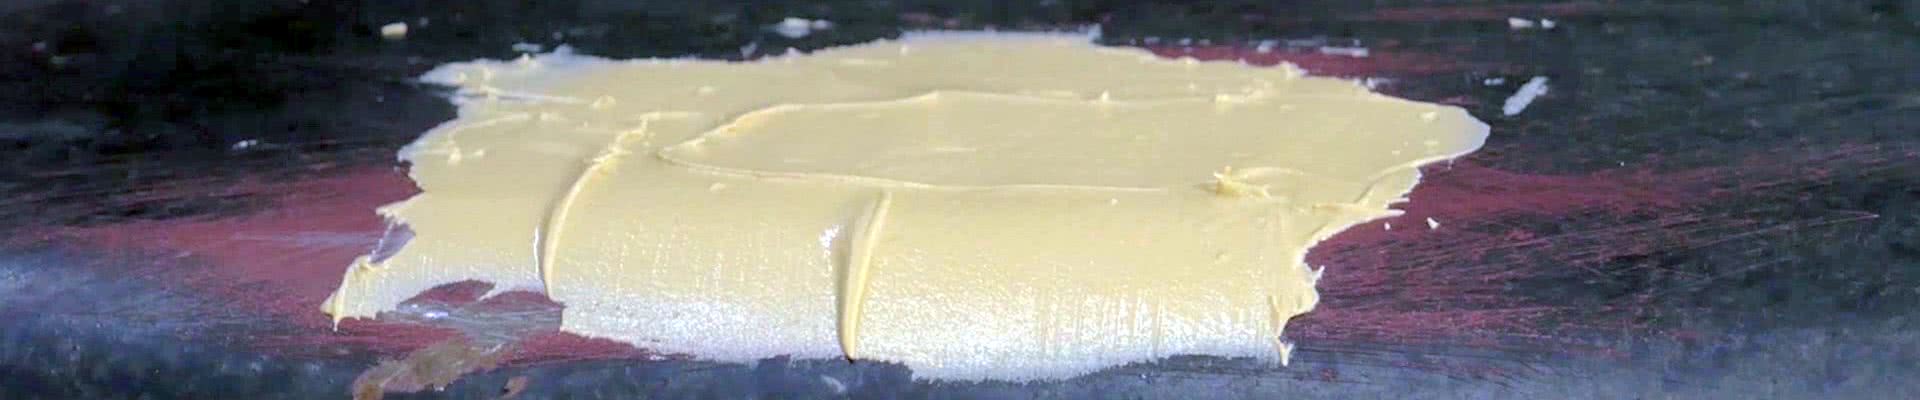
Using Filler (or Bog)
Correct use of filler is important in order to ensure that the surface to be painted is nice and smooth. There are a few different types of filler, ranging from heavy duty stuff that contains glass fibres, through to finishing putty that’s designed to flatten out tiny imperfections, dents and scratches.One of the most important things to know when using filler is how much to use. A lot of beginners will go way overboard, and slather body filler over entire panels.
This is bad for two reasons - one is that body filler can potentially trap moisture and become a catalyst for future rust, and the other is that all that excess filler needs to be sanded back down!
Sanding
Sanding is one of the single most important aspects of prep for painting. It’s not a fun job by any means, but should absolutely never be skimped on.Machine sanders, whether electric or pneumatic, can speed up the initial sanding stages considerably, though these shouldn’t be used in the final stages of sanding as they tend to be too rough and unpredictable.
When sanding a car down for paint, you’ll need to start with a low-grit sandpaper and work your way up to fine paper - often including wet sanding - and the use of a sanding block can ensure that you keep the panel uniform.
Cleaning
It’s important that you clean away dust, dirt and oily residue from the panels you intend to paint, as paint won’t stick where there are oils and grease present.
Flecks of dust will also contaminate your paint job, leaving the surface uneven.
Be sure to resist touching freshly sanded panels with your bare hands since this will transmit oil that’ll inhibit the ability of your paint to stick.
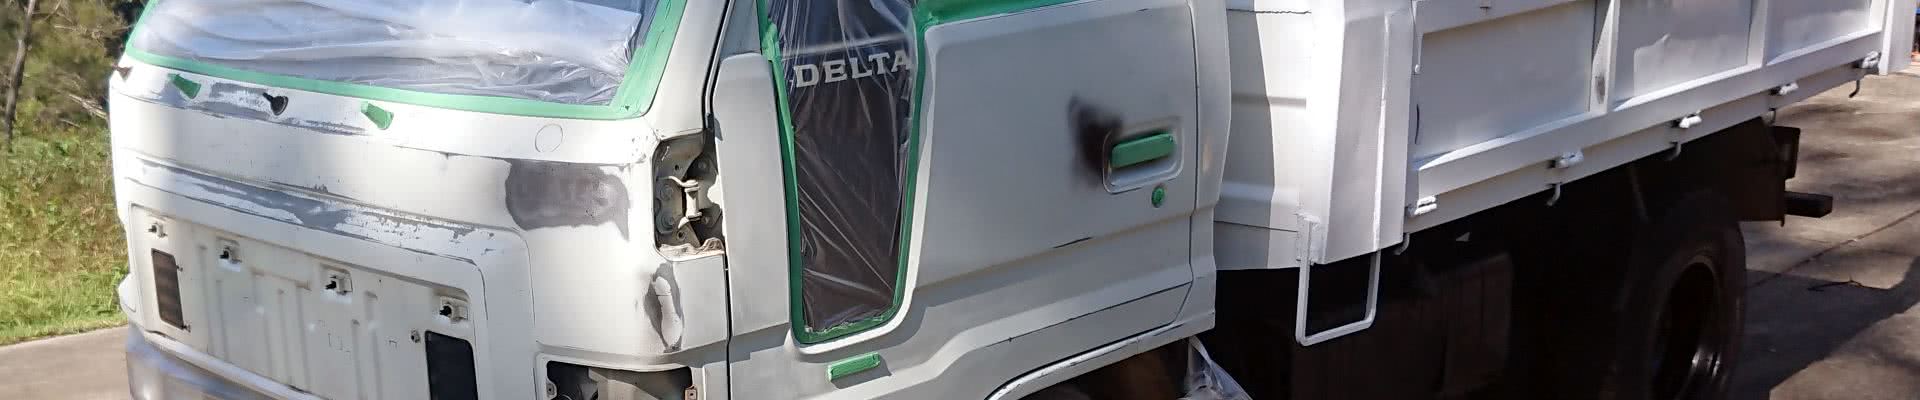
Masking
Masking is another job that shouldn’t be rushed - it’s important to avoid overspray and therefore rework.
The use of appropriate masking tape, as well as dust-free masking paper and wrap is recommended to avoid damage to any paint you’re masking off, as well as reduce the likelihood of getting dust or other particles on the surface you are going to paint.
Be sure to take your time to mask off any plastics or rubber that you don’t want to have painted, and make sure that the tape you use is stuck down firmly and uniformly to prevent paint from seeping beneath it.
Cleaning again
Always clean the area to be painted with a wax and grease remover, and a lint-free cloth. It’s a good plan to clean the surface you’re going to paint after masking off anything you don’t want painted.
Cleaning really is one of the main things that you need to stay on top of if you are doing any painting.
Applying Primer
Applying the correct primer in the correct way is very important as it has a huge impact upon the way that the top coat both looks, and adheres to the panel below.
If you are painting over bare metal, then you’ll need to give it a coat of etching primer first, then build up the area to be painted with other primers that fill up small scratches and imperfections.
It’s recommended that you give primer a sand too depending on its finish, and the type of job you are doing.
Often wet-sanding primer will contribute to a very shiny finish on your car.
Cleaning (your workshop)
This applies both before and after you paint anything. Make sure the are you’re going to be working in is clean, tidy and dust-free in order to avoid potential paint contamination. Be sure to dispose of waste responsibly too.
Remember that safety should always be your top priority, so make sure that you have good ventilation and access to your job without tripping over things!
Now with the prep taken care of, painting should take no time at all, and in all honesty - it’s the easy part!
*Important information* - Click here to read more about our How-To terms and conditions.